Showing posts with label from harvest to table. Show all posts

Wednesday, October 21, 2015

From Harvest to Table | Acorn Thai Soup


It is that time of year when all I see in my favorite Farmer's Market is quash! Yes all of them : pumpkins {with matching huge pumpkin patch!} butternut, spaghetti, delicata, buttercup, ambercup, name it and you see it! Over the years, I tried cooking each kind of squash to find out which I like best. I find that they differ in moisture content, texture and of course taste. My 3 favorite kinds are : ambercup, spaghetti squash and acorn. I find them buttery. flavorful and moist, One of their common denominator that I like the least.....  ALL of them are hard to peel! 


If I am cooking soup and want to serve it in the "squash bowl", I prefer cooking with acorn. Its size and shape are perfect as a serving bowl without compromising the flavour. For this soup recipe, I used roasted acorn. That way, I don't need to peel and was able to save the cup for serving.


Before baking, cut acorn squash crosswise in half. Remove seeds. With a sharp knife, carefully trim both ends of squash so that it can stand without being wobbly. Place squash on a cookie sheet {with trimmed ends at the bottom of the sheet}. Sprinkle each squash with salt and pepper and bake at a pre- heated 350 degrees F oven. Bake for 30-45 minutes or until tender. When done and cool enough to handle, scoop out meat and set aside for soup recipe below. 

Remember : if you are using the squash as a serving bowl, leave enough meat on the squash to make a sturdy bowl.


Acorn Squash Thai Soup

Ingredients

3 cups meat of roasted acorn squash {I previously roasted 2 big sized acorn squash. See procedures above}
2 tablespoons cooking oil
1 small onion, chopped
5 cloves garlic, minced
1 big thumb-sized fresh ginger, peeled and thinly sliced
2 bay leaves
1 can {400 ml} good quality coconut milk
2 and 1/2 cups vegetable broth
2 tbsp fish sauce
2 tbsp green curry paste
1/2 cup fresh cilantro leaves
salt and pepper

Procedure 

In a large cooking pot, heat cooking oil over medium heat,
Saute onion, garlic, ginger and bay leaf. When onion is cooked, add roasted acorn squash. Mix and cook for 2 minutes to incorporate the flavour.
Add coconut milk, vegetable broth, fish, sauce, curry paste and cilantro leaves. Stir. Simmer for 5-10 minutes while stirring regularly.
Turn off heat. Puree using am immersion blender {or puree by batches using regular blender}
Re-heat on the stove and season with salt and pepper.
At this point, you can add more broth to achieve desired soup consistency.
Serve on acorn "squash bowl".


Bon appetit! ทานให้อร่อยนะครับ/คะ 


Linking with : THE SCOOP  *  TWEAK IT TUESDAY  *  WORK IT WEDNESDAY  *  SHARE YOUR CUP THURSDAY  *  TREASURE HUNT THURSDAY


Thursday, September 17, 2015

From Harvest To Table | Basil and Garlic Tomato Sauce


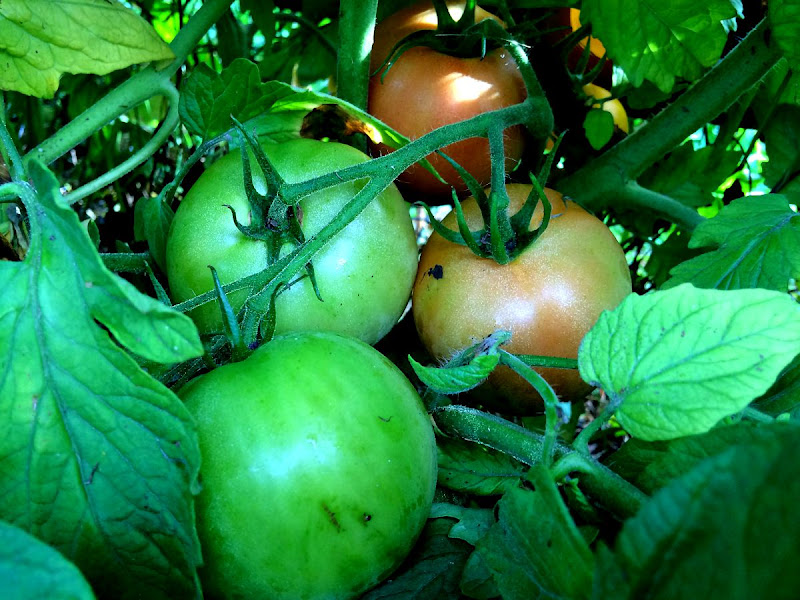
When hubby and I planted tomatoes in late May, I envisioned red, plump and juicy tomatoes that are perfect for homemade tomato sauce. We planted 4 varieties {big beef, better boy, cherry and grape} totaling to 9 plants. After 3 months of tender-loving -care and long hot sunny days, I have been harvesting baskets and baskets of these goodies.


While the cherry, grape and yellow pear cherry tomato plants are all bursting with ripe fruits, it took a while for the big beef and better boy to ripen on the vine. I followed some "tips for ripening tomatoes on the vine" I read in my gardening books. Here's what I learned : when tomatoes have reached full or nearly full size ....
  • Reduce watering
  • Keep the plant dry
  • Remove the plant's lower leaves
  • Pick small fruits
  • Pick excess fruits
  • Check plant daily

Then finally, the wait is over and wait was worth it! The tomatoes are sweet, plump and juicy as I imagined them to be! Now I am ready to make my homemade tomato sauce. After harvesting some tomatoes, I also gathered the other ingredients I need from our veggie garden like basil, oregano and parsley.

My recipe is easy but bursting {my favorite word for the day!} with flavour. Just remember the 4 steps:

Clean and cut tomatoes.


Boil tomatoes.

Strain tomatoes.


Saute and season tomatoes.
                                                                                                     
And viola! Even the most expensive canned tomatoes can't beat the freshness and flavour of homemade tomato sauce.


Basil and Garlic Tomato Sauce

Ingredients

15 big pieces of fresh tomatoes {I used big beef and better boy varieties
2 tbsp extra virgin olive oil
7 cloves garlic, crushed
1 tsp red pepper flakes {optional}
1/2 cup chopped fresh sweet basil
5 sprigs fresh oregano, stems removed
2 tbsp sugar {add more if needed}
salt and pepper

Procedure

Wash tomato and remove core
Cut tomatoes in quarters
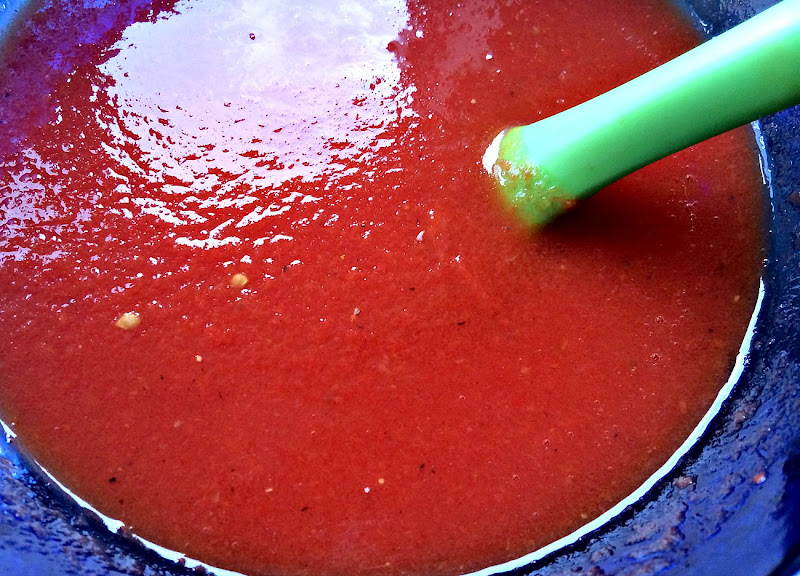
Place tomatoes in a large cooking pot and allow to boil over medium heat, about 20-30 minutes or until the tomatoes are reduced to a pulp. Stir frequently.
Using a big metal mesh strainer, strain the tomatoes to remove skin and seeds. Discard seeds and skin; set aside the tomato puree.
In the same pot were you boil the tomatoes, heat 2 tbsp olive oil.
Saute garlic and red pepper flakes.
Add the tomato puree and simmer for 20 minutes over medium heat.
Add basil and oregano.
Season with sugar, salt and pepper,
Simmer over low heat for another 20 minutes {or until your preferred consistency is achieved} while stirring frequently.
Serve sauce with your favorite pasta topped with Parmesan cheese and chopped parsley.

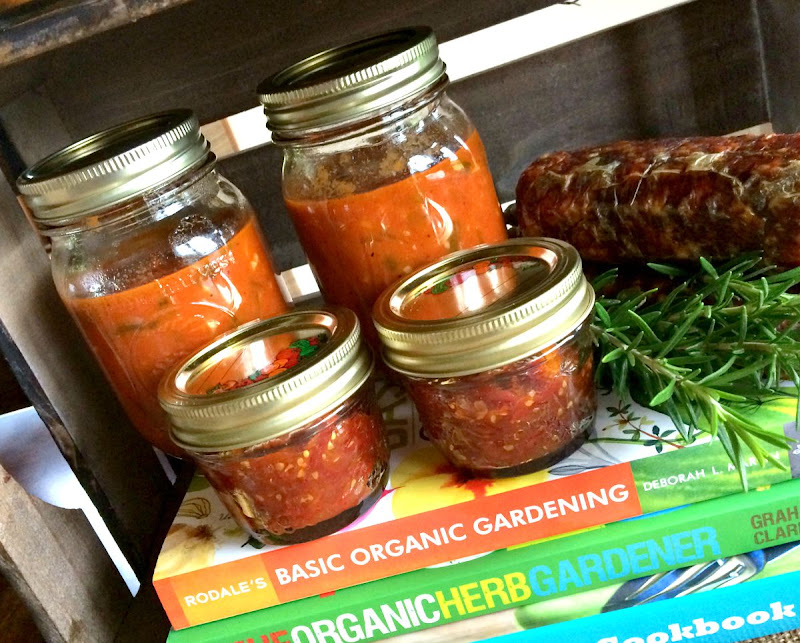
Note: when properly canned, this sauce can last for several months. You can also store the sauce in good quality zip lock bag and freeze.


Linking with :  Simple Saturdays  *  Saturday Sparks  *  Treasure Hunt Thursday  

Thursday, August 27, 2015

From Harvest to Table | Seafood Tinola


If you are about to harvest peppers in your backyard, pick the PEPPER LEAVES as well!


Cooking with pepper leaves is not common here in Canada but in the Philippines, the leaves are as valuable as the pepper itself. The most popular dish with pepper leaves is a soup called "TINOLA". Like the adobo, every region is the Philippines has its own version of this comfort food.  


"Tinola" is basically a stew flavoured with onion, garlic, ginger, chicken and of course pepper leaves {lots and lots of it!} The mild and fresh peppery flavour of the green leaves is achieved by adding the leaves to the boiling broth at the end of the cooking process. As I am writing this post, I couldn't help but reminisce the aroma every time I open a steaming pot of "Tinola" .... ahhhh. ... the smell of mom's kitchen in my childhood home!


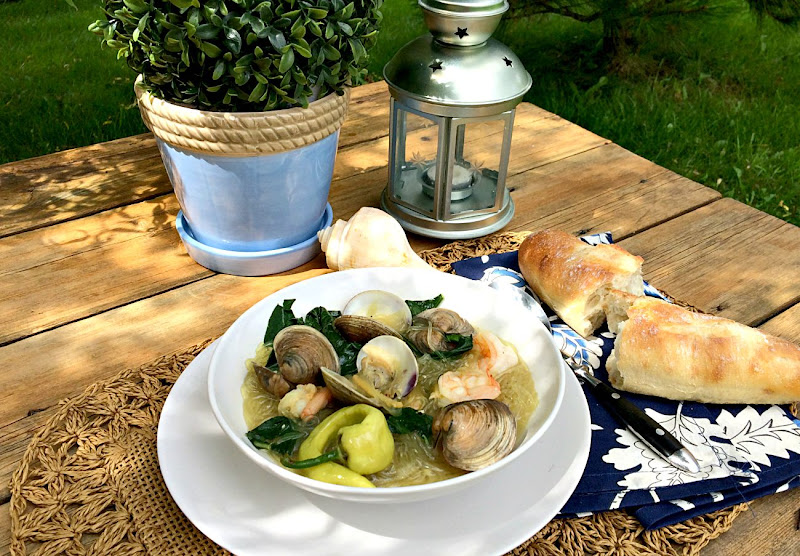
Since hubby and I are limiting {then hopefully totally eliminating} our meat intake, I used pasta clams and shrimps for my version of "Tinola'. Another twist is the addition of glass noodles, making it a one-pot-meal. 


Seafood Tinola

Ingredients
{good for 2-3 person}

1 tbsp canola oil
1 small onion, minced
2 cloves garlic, minced
1 thumb size fresh ginger, julienned
10-15 pieces pasta clams, cleaned
10-15 pieces shrimps, peeled and deveined
2-3 cups water or seafood broth {depending how much liquid you prefer in your soup}
1 piece {37 grams} glass noodles [1 pack usually contains 8 pieces]
2 cups fresh pepper leaves
1 sweet banana pepper {optional}
salt and pepper

Procedure

Wash glass noodles in cold water then set aside
Heat oil in a large-sized soup pot
Saute onion and ginger
Once onion is translucent, add garlic and  saute for few more seconds
Add pasta clams and shrimps.
Stir and coat the clams and shrimps with the sauteed onion, garlic and ginger
Add 1/2 cup water or broth
Reduce heat to medium and cover the pot. Let it simmer.
Once pasta clams are open, add glass noodles and stir
Add sweet banana pepper and the remaining water or broth
Seasoned with salt and pepper to taste
Cover the pot and let the noddles cook well {about 2-3 minutes}
Add pepper leaves to the boiling broth
Stir well.
Put the lid back and turn off heat
Let it stand for another 3 minutes or until the leaves are wilted
Serve hot with crusty baguette.


Linking with : Treasure Hunt Thursday
                        Simple Saturdays

Thursday, August 20, 2015

From Harvest to Table | Basil Chicken in Ginger Coconut Sauce


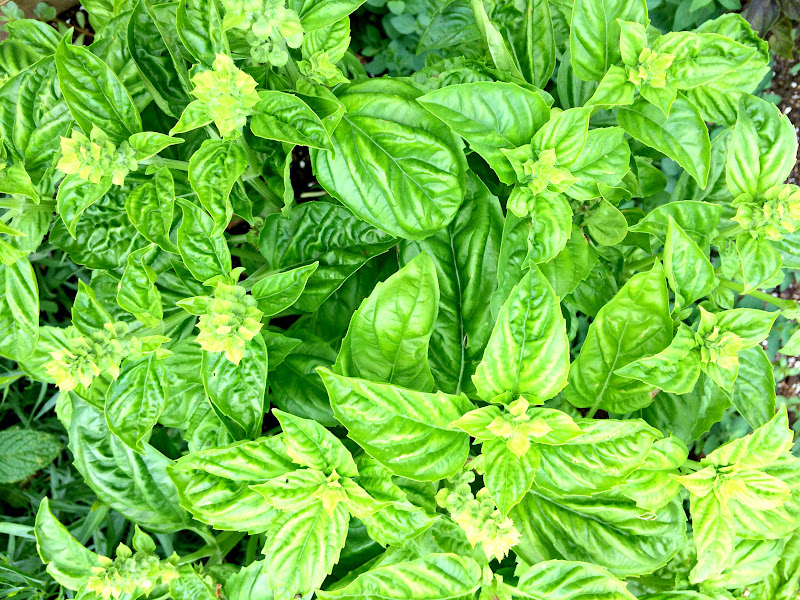
Next to lavender, basil is my favorite herb. In our former house where space is limited for planting, I made it a point to plant basil in big pots{ here and here }. Now that I have enough space, I planted  3 different types of basil {sweet basil, Thai basil and the Greek bush basil } - all so fragrant but each have their own distinct flavour. Among the three, I find the sweet basil the perfect herb for anything cooked with coconut.


Basil is one that benefits from frequent cuttings.I learned many moons ago that cutting helps it spread out sideways and develop healthy greens. This is my 4th harvest and all the plants are still eager to give more! I also make sure to snip off the flowers {which I love to include in my cooking or plating} as soon as I see them to prevent the plant from becoming tall and leggy.

For yesterday's harvest, here's a chicken dish that has become a staple here at home when basil is abundant. A perfect comfort food best eaten with boiled rice!


Basil Chicken in Ginger Coconut Sauce

Ingredients
1 kilo chicken cut in small pieces {I used chicken thigh for more flavour}
3 tbsp cooking oil
1 small onion, chopped
2 big cloves of garlic, minced
1 thumb-size piece of ginger, thinly sliced
1 piece Thai chili pepper {optional}, thinly sliced
1 can coconut milk {398 ml}
20-30 pieces sweet basil leaves
1 tbsp fish sauce
1 tbsp sugar
1 tbsp freshly ground black pepper corn
lime wedges

Procedure
Heat oil in cooking pot
Brown both sides of chicken pieces then set aside
In the same pot {reduce oil if chicken rendered more fats while browning}, saute onion, garlic, ginger and chili pepper. Make sure to scrape the bottom of the pot while sauteing to get the chicken flavour
Add chicken back to the pot
Add fish sauce and cover pot for a minute
Pour coconut milk, reduce heat and simmer for 2 minutes, stir regularly 
Add basil leaves, sugar and ground pepper corn
At this point, add salt if needed
Cook until coconut milk is silky and thicker, again stir regularly to prevent coconut milk from sticking at the bottom of the pan
Serve with boiled rice and squeeze a wedge of lime on top of the dish


For vegetarian version, I replaced chicken with eggplant and cauliflower. Just as delicious!


Linking with : Our Simple Homestead
                     Thursday Favorite Things


Related Posts Plugin for WordPress, Blogger...