Showing posts with label DIY projects. Show all posts

Monday, January 11, 2016

DIY | Lavender Bath Salt


Making my own body pampering essentials is on my bucket list for a long time now. Since one of my January goals is to "do more and dream less", I thought why not start working on these body pampering essentials like bath salt, body scrub, massage oil and lip exfoliant. So, yesterday while it was snowy and windy outside, I was busy in the kitchen like a "scientist" mixing a bit of this and a drop of that ... after less than an hour, I checked off another item on my bucket list! And the scents of lavender, lemongrass and peppermint in the kitchen was heavenly!


These lavender flowers I harvested from my garden and air-dried last fall were finally put to use. I initially planed on making my own lavender essential oil but I still don't have enough plants to produce the amount of flowers I need {maybe this year}. 


For the meantime, I have been sourcing organic pure essential oils from SAJE or TIME & AGAIN for the last few months so I now have at least my favorite scents in my stash {lavender, bergamot, peppermint, lemongrass, and tea tree}.


Here's what you need to make your own Lavender Bath Salt:

2 cups Epsom salts 
1/4 cup sea salt (optional)
1/2 cup baking soda
4 tablespoons lavender flowers
40 drops lavender pure essential oil 

In a dry bowl, combine all ingredients and mix until well combined. Store in covered jar to prevent moisture. Now you can enjoy a fragrant and soothing hot bath using this homemade bath salt.

Note: Test product on hand before use for skin sensitivities. 
          Epsom salts soothe tired muscle
          Baking soda softens waters and alleviate skin irritation


Personally, after a long tiring day, I find it hard to fall asleep. I count sheep and talk to the Shepherd. I still do that, but that is after taking a relaxing hot fragrant bath!

P.S. Will share other DIY pampering essentials on my next posts.

Linking with :  *  Share Your Style  *  Sundays at Home  *  Creative Collection  *  Amaze Me Monday  *  The Scoop  *  Tweak it Tuesday  *  Treasure Hunt Thursday  *

Follow my blog with Bloglovin

Tuesday, September 1, 2015

Saving Herbs for Winter Months {Drying and Freezing Herbs}


Oh, hello September!


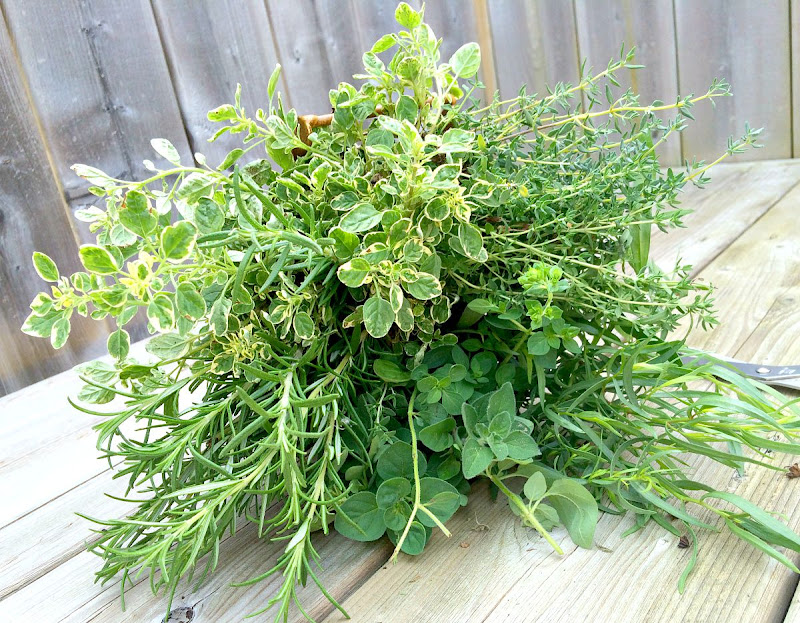
Was it it only 2 and a half months ago when hubby and I planted herbs in our veggie garden {posted  here}? For the last month or so, I have been snipping fresh herbs from the garden as needed for this and that recipe. I have been pampered this way and I know some good things never last. So, I am preparing to prolong the goodness of my valued herbs for the coming winter months {which by the way is just around the corner if you live in the Great White North!}

Sharing with you how I do it here at Birdsong.


Harvesting Herbs for Drying and/or Freezing:


  • The peak time to harvest {then dry or freeze} herbs is right before the herb starts flowering. This is the time when the flavourful and aromatic oil content is at its highest level.
  • Harvest in mid morning or when the dew is dry to prevent molding.

Cleaning Herbs for Drying and/or Freezing


  • Make sure the herbs are free from dirt and insects {like this beautiful baby caterpillar} by either gently rinsing them but this process may also remove essential oil from the leaves so I prefer gently shaking each stem to remove impurities.

Drying Herbs:


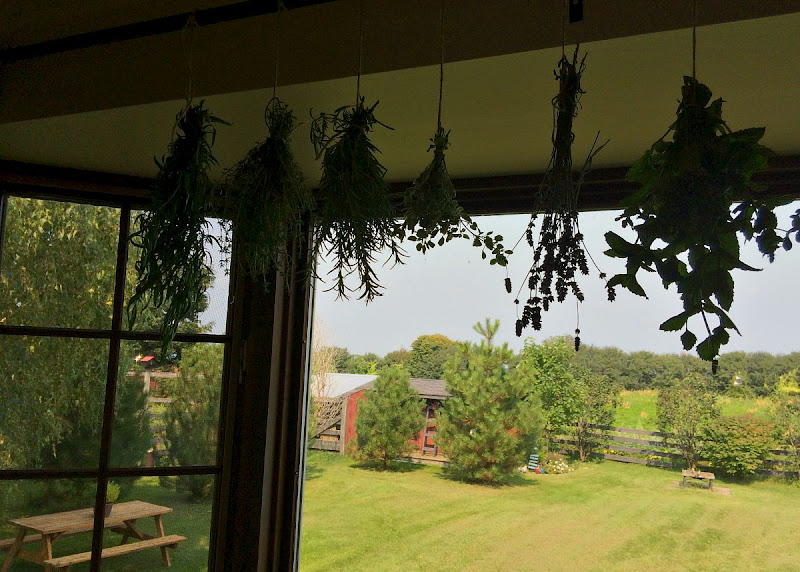
  • Drying herbs can be done either by air dry {practical for herbs with low moisture content like rosemary, oregano, thyme and sage} or through food dehydrator or ordinary kitchen oven {best method for herbs with high moisture content like basil, tarragon and mint}.
  • I always resort to air drying by simply tying a piece of string to a bunch of the same herb and hanging them upside down in a warm room with good air ventilation/circulation. Avoid the kitchen because of the moisture generated in the room when cooking.
  • If the weather is not too hot and there is a enough breeze outside, I hang my herbs in a partly shaded area {direct sunlight will burn the leaves resulting to discoloration} for a good 3 hours then continue drying them inside the house for most part of the day.
  • Regularly check herbs for signs of mold or mildew.
  • It usually takes 3 weeks for my herbs to be completely dry and ready for storage.

Freezing Herbs:


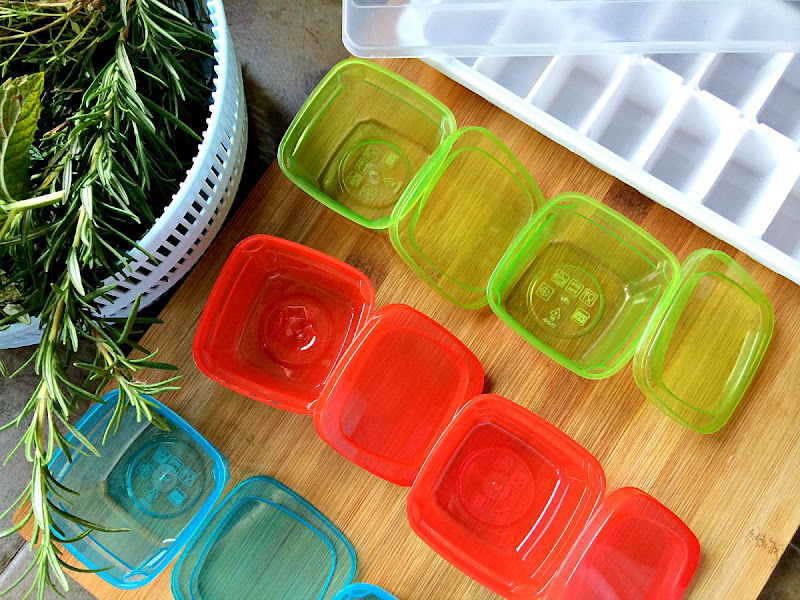
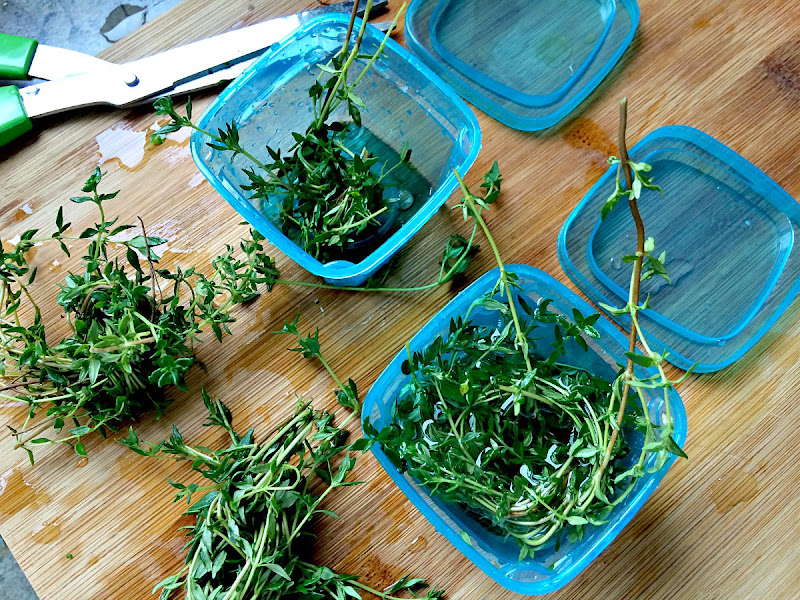
  • Use plastic containers for easy removal of frozen herbs. I use ice cube tray and color coded containers for easy identification specially when I am freezing more than 2 herbs.

    • For thyme. I tie small bundle of sprigs together and put 2-3 bundles in each water filled container. I do this because when I use thyme in my recipe. I normally use a sprig or two.
    • For tarragon, I remove the leaves from the stem before placing them in water filled containers because that's the way I normally use them
    • For oregano, because I use them a lot like basil. I prefer to freeze them in water filled ice cube trays. 
    • Freeze  and thaw as needed!
    I like to have both dried and frozen herbs in the winter months There are just some recipes that truly calls for fresh herbs like omelettes, Margherita pizza or simply topping a dessert with fresh mint leaves. Dried herbs on the other hand have its own uses like when I'm making soup or braising beef, for example. Don't forget, dried herbs are 3 times more potent or flavourful than its fresh counterpart {example : 1 tablespoon of fresh oregano is equivalent to 1 teaspoon of dry oregano, since 3 teaspoons = 1 tablespoon}.

    PS : For those who are wondering what happened to the cute baby caterpillar I found on a mint leaf, I relocated it from the veggie garden {where I found it} to the flower garden where I hope it will transform into a beautiful butterfly one day!


    Thank you for visiting!


    Linking with : Simple Saturdays  *  Treasure Hunt Thursday  *  The Scoop  *  Homework  *  Wow Us Wednesday  *   Inspire me Monday  *  That DIY Party


    Related Posts Plugin for WordPress, Blogger...